
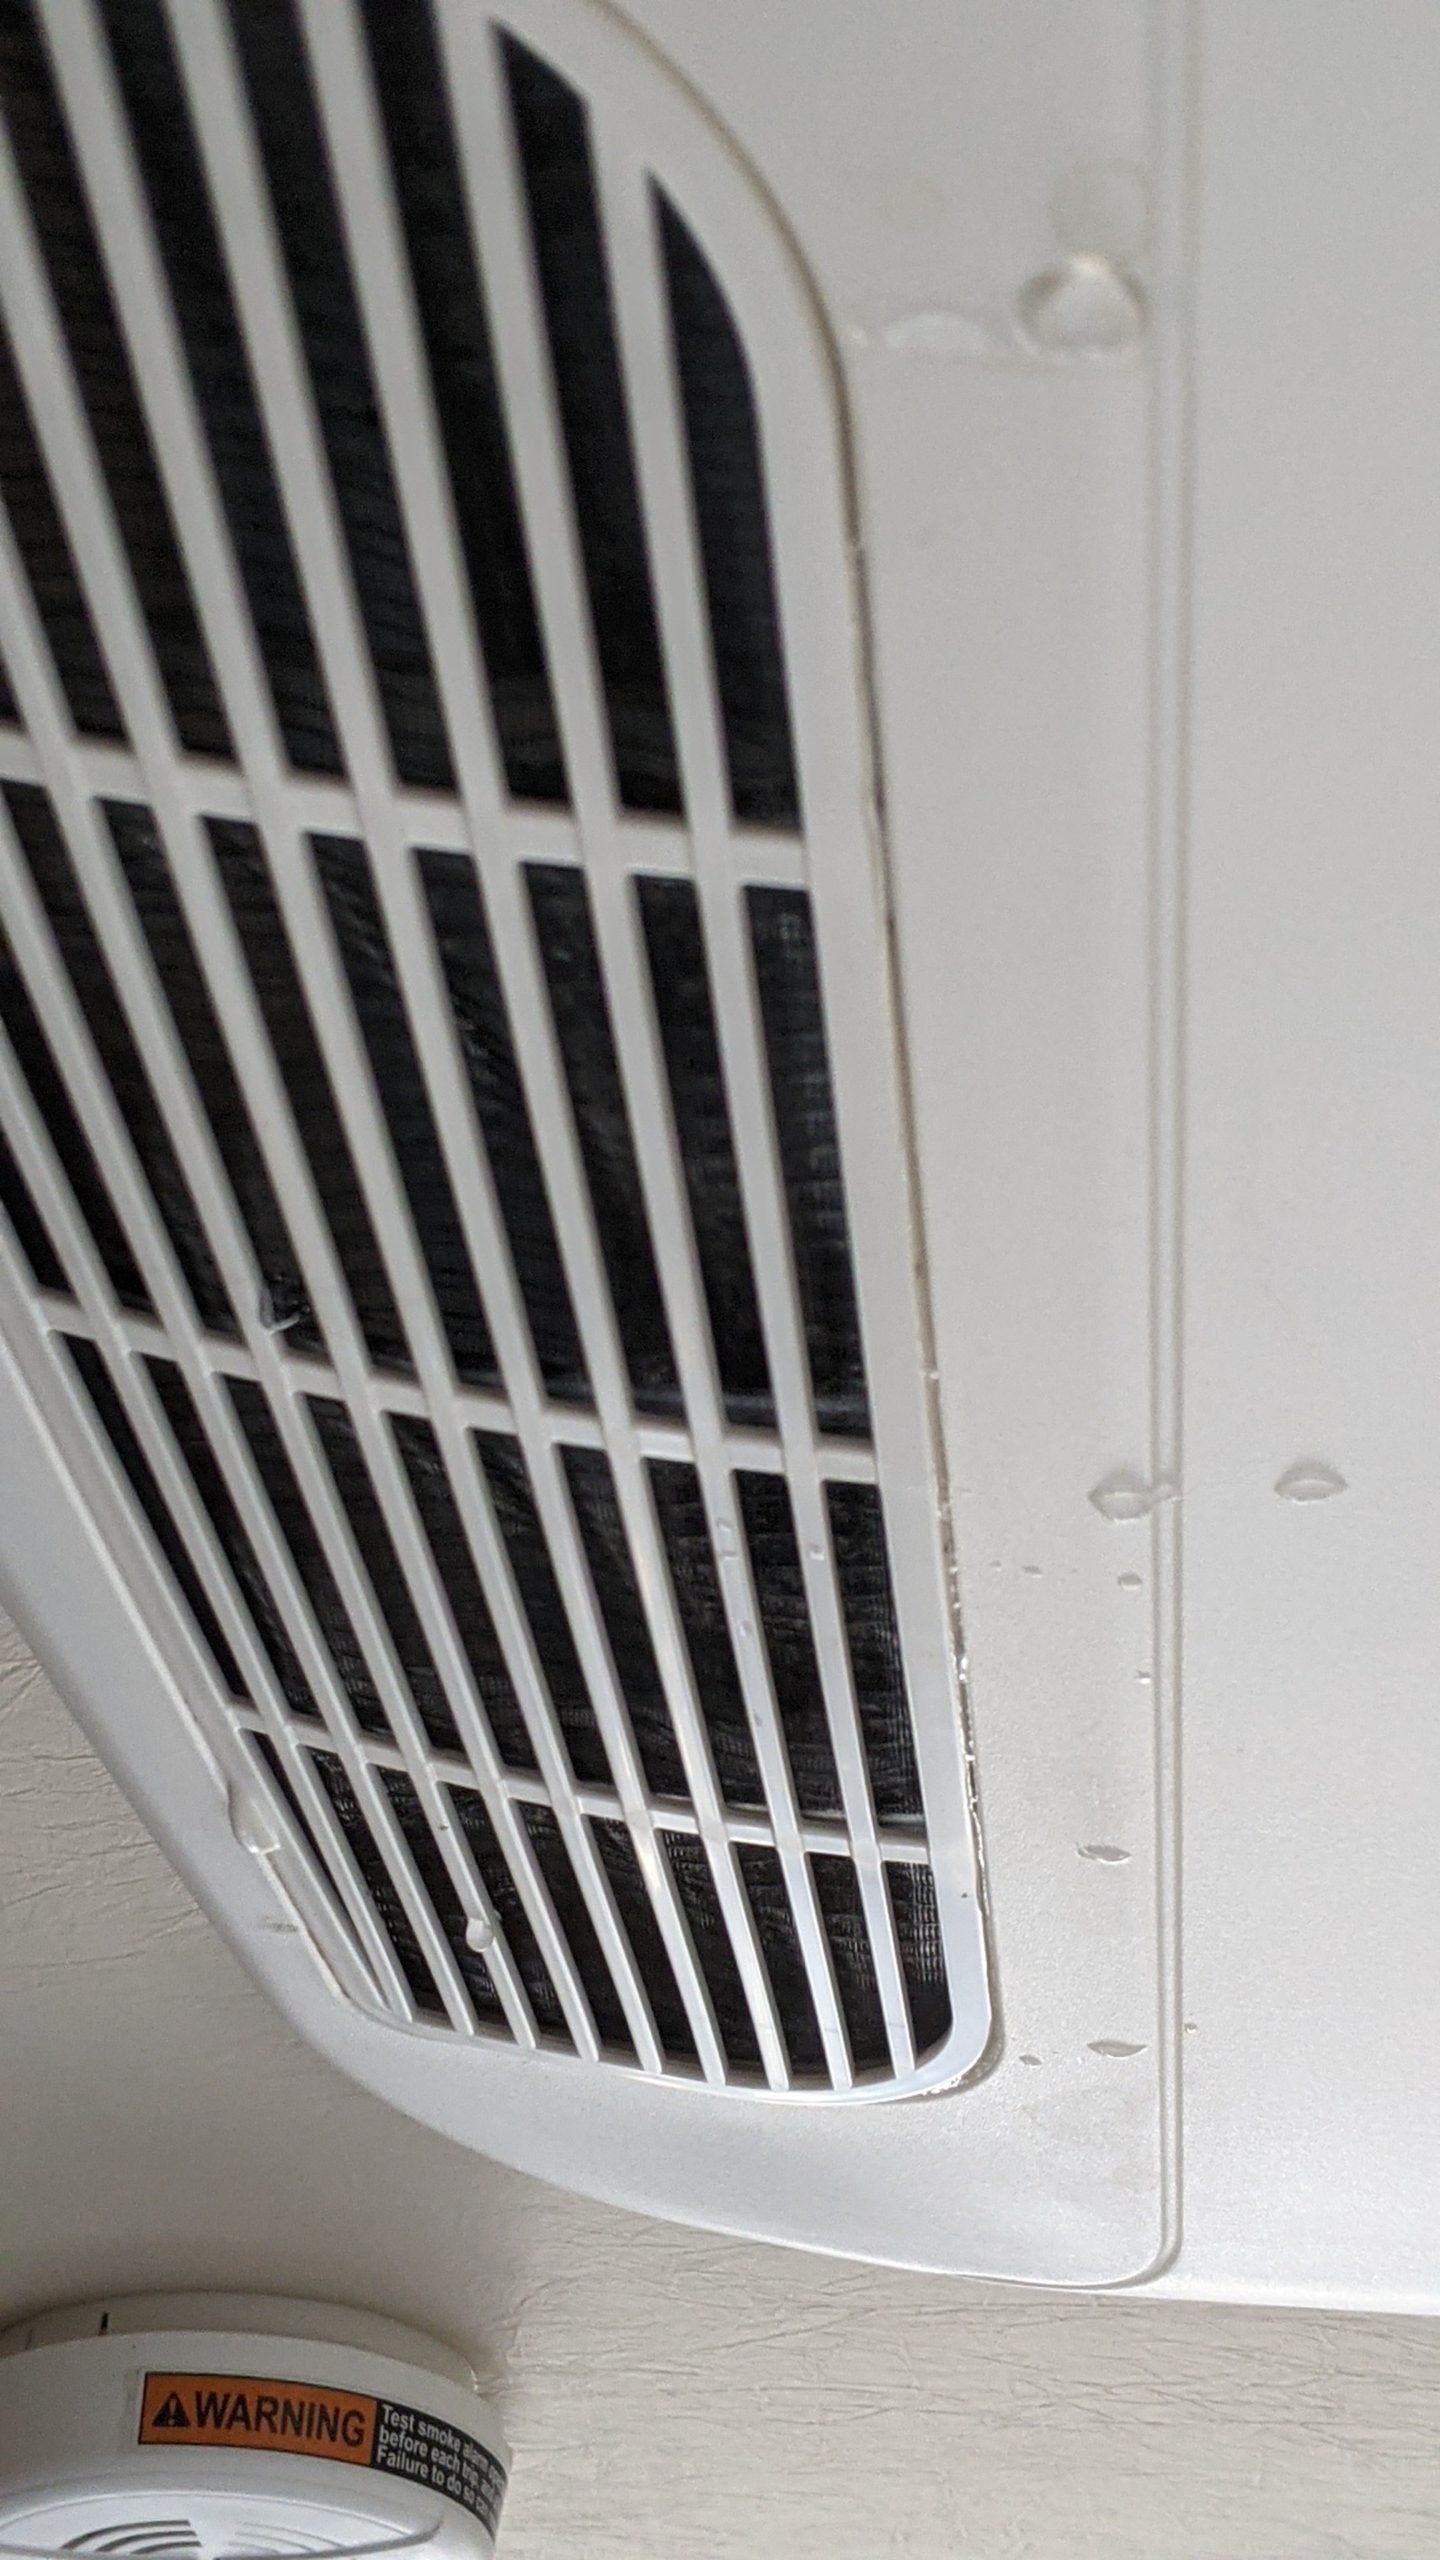
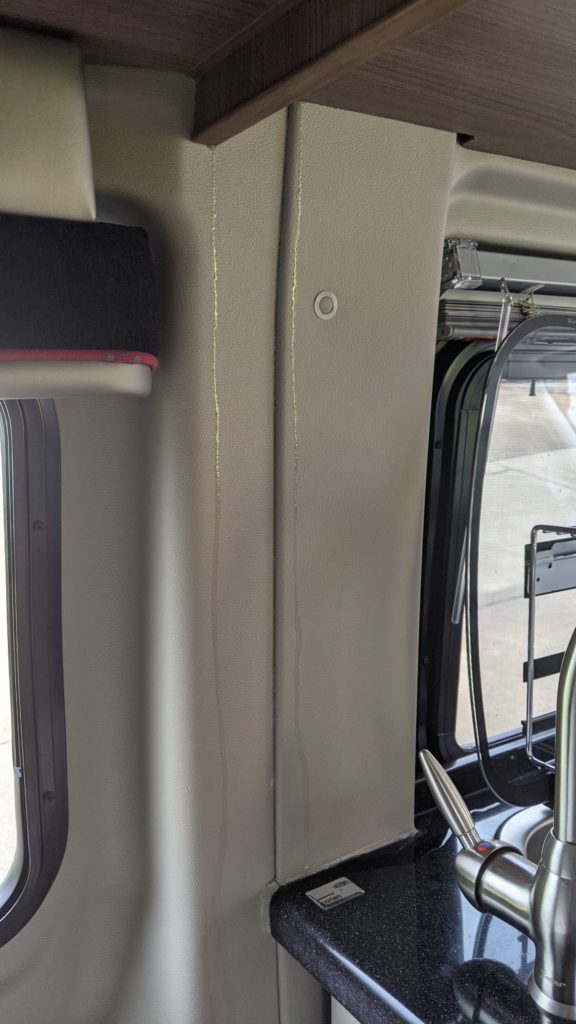
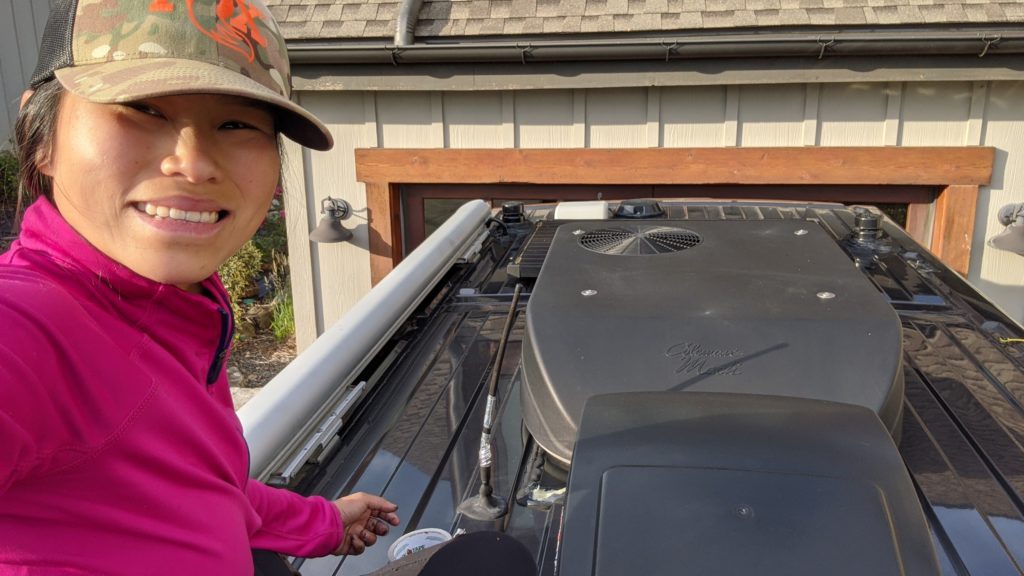
Just 2 weeks after I got the van, I noticed water leaking coming down from the AC unit, the side wall, and the Maxx Air fan. The van is a used van. The owners of the van were a 80 years old-ish couple. It had very low mileage when I got it (17K miles) and everything in here was still brand new. Generator had only been ran for less than 20 hrs. However, I think that they might have parked the van where it might be a bit hot so the sealant on the roof may need to be reseal.
Here we go… First project on the van for me to tackle. I’m definitely not a handy person, so I was trying to schedule an appointment with RV repair people to fix it for me. Luckily, all of them were super busy. So I had to do it by myself.
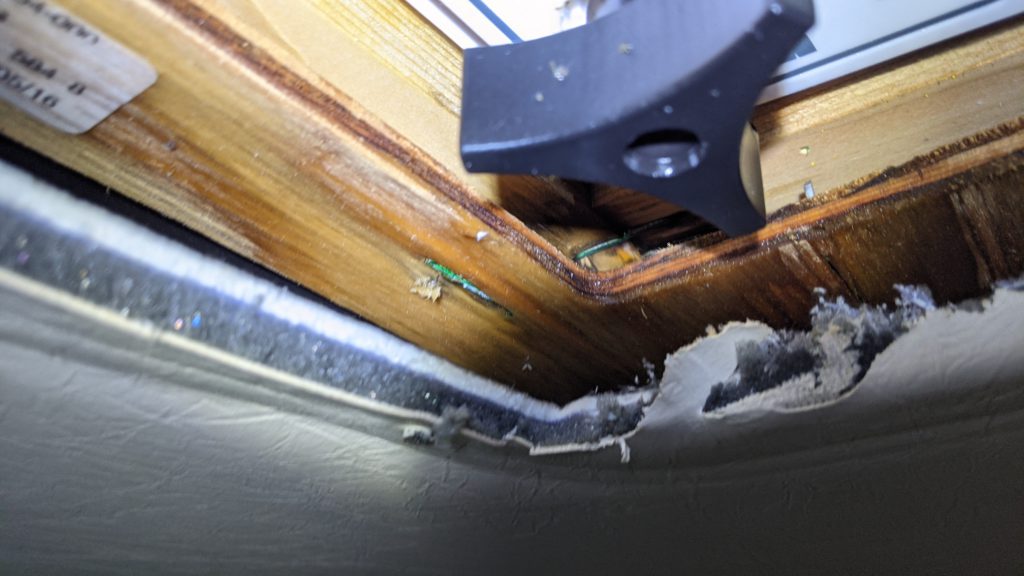
I asked my good friend who works at a body shop to help me to address the issue quickly before the van get more water damage. He helped me to identify where he thought that the water might be coming from around the AC. He helped to seal that area with the sealant he had available (3M Sealant). After seeing how easy this fix is, I knew that I also could do it by myself. (Thank you, Jeremy!)
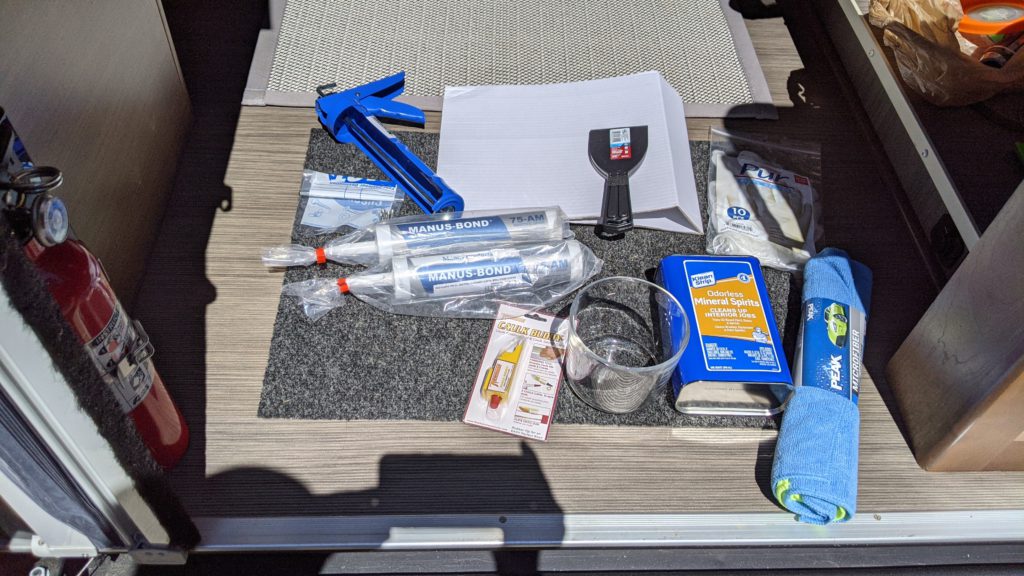
What You Need:
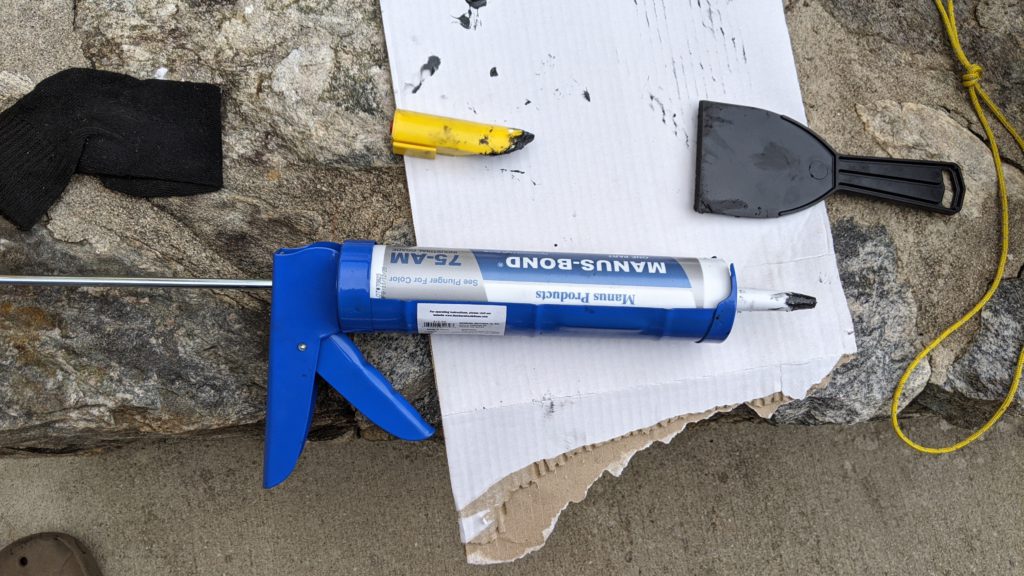
- Manus Products 75-AM Adhesive sealant Marble Black (Recommended by Winnabego): Less than 6 months after the date it was produced is ideal. You want to make fresh sealant for this to make the sealing effective.
- A caulking gun
- Silicon sealant finishing Tool
- Sealant scrapper
- Dish Detergent + Bucket of water + Sponge / Rack
Notes: In the picture, I also had a bottle of mineral spirits. I was planning to use it to clean the sealant on the roof. But I didn’t even need it. Soap water works well enough for me. Oh… and disposable gloves… I didn’t use it either.
Optional:
- A piece of card board + a nail
How I did it:
- Optional: Test out the sealant:
I test out to see how the sealant can hold up a nail on the card board before. Basically, I press a nail through the cardboard and put Manus sealant on the top of it. From here, I got a sense on how to work with the sealant and how it would hold up a nail, and how long it took to start get more solid. - Clean the roof:
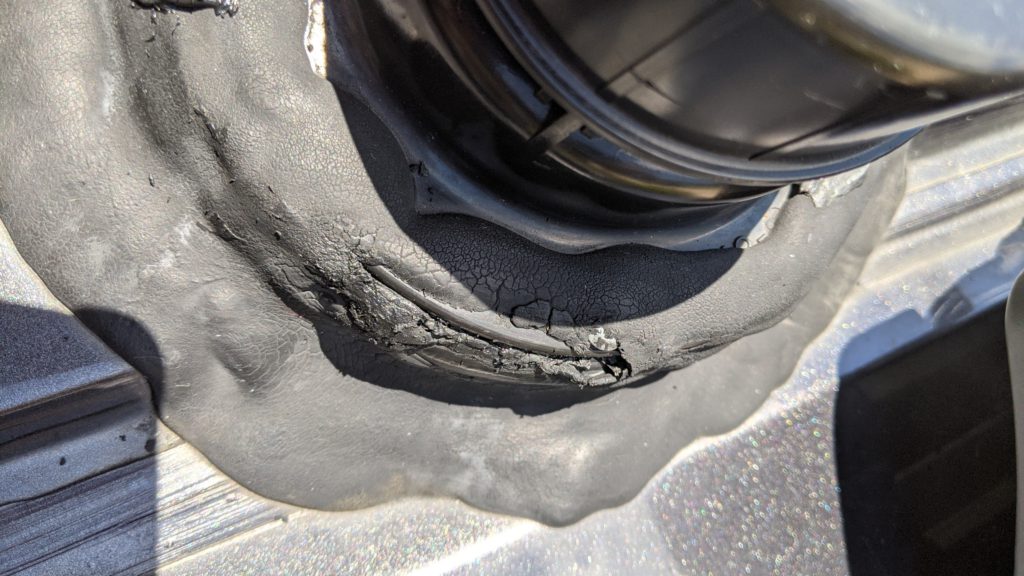
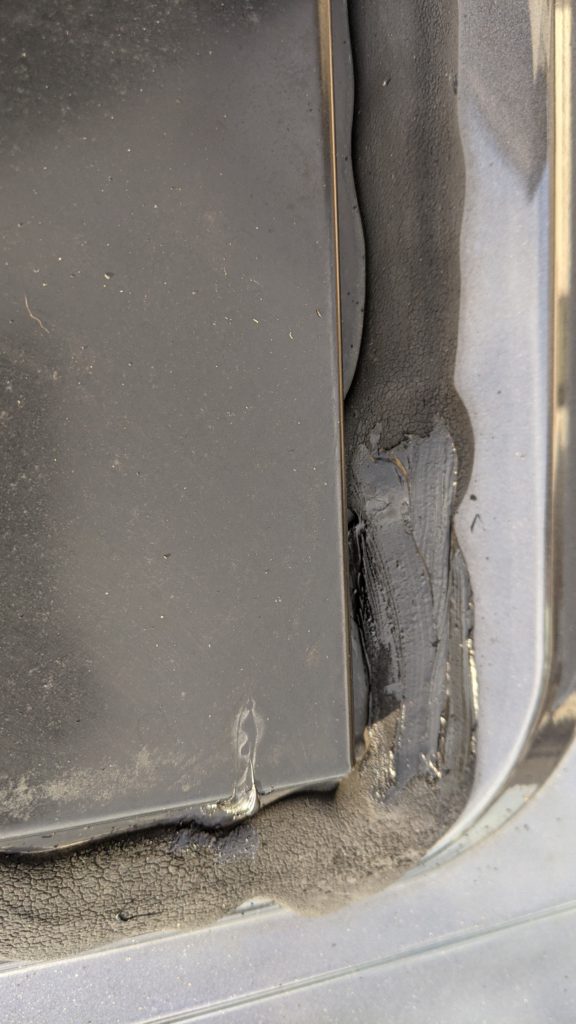
I use a dish detergent and water to wipe all the roof and all the sealant area. From doing so, I was able to inspect the area that the sealant might be worn off, any damage or hole on it. - Reseal it:
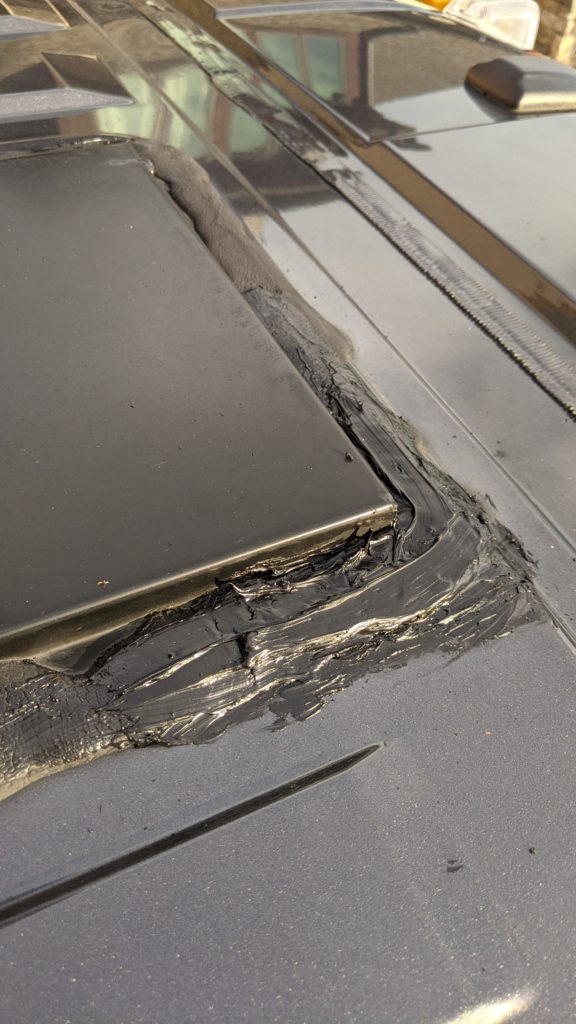
I peeled off the sealant where it was worn out. I was able to do so with only using my hands. It is not that difficult to peel it off when it is old. Some of the areas, I used a scraper to help me to start with and then used my hand to just peel it off. I left the area where the sealant seemed to still be in good shape.
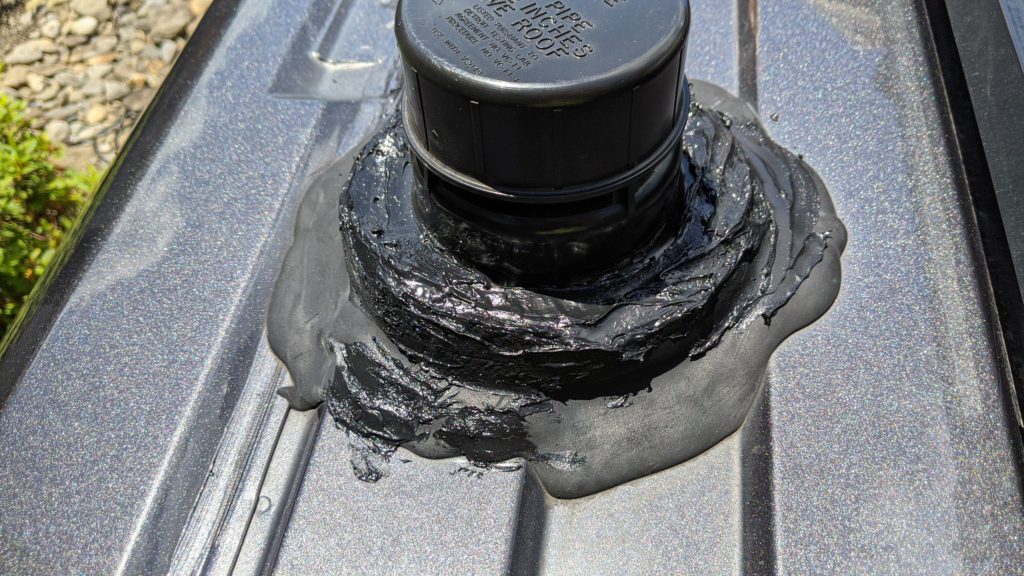
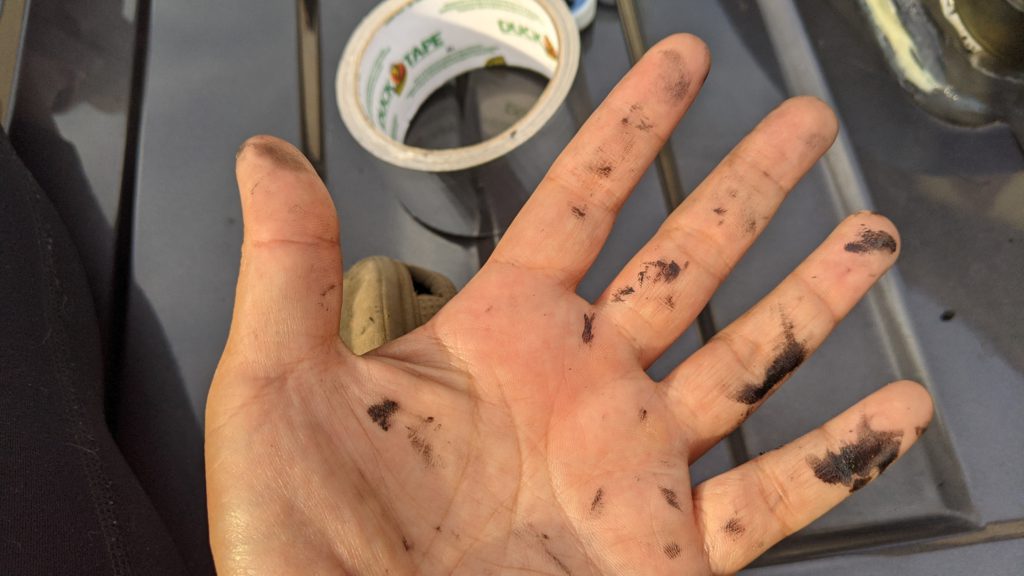
I used the calking gun to push the sealant out of the tube. I found that it was quite difficult to do… Imagine: trying to squeeze a honey out from the bottle when it is cold. So make sure that you left the sealant under the sun on a hot day or make sure it is warm before you are working with it. Anyway, you put the sealant on the area that might need to be re-patched (some holes, cracks), and put enough of it.
Then I used the silicone sealant finishing tool to touch up and make sure to smooth out the sealant.
And that was it! It was so much easier than I expected. It is recommended to check your roof every 3 months. Now I know how to do it again next time.
Updated Result: After a month, the van has gone through many heavy rains, no more leaking! Yeah!